I hope you are all having a lovely Sunday… I spent last night being inspired by this and it got me so excited for next weekend. Will you be watching?
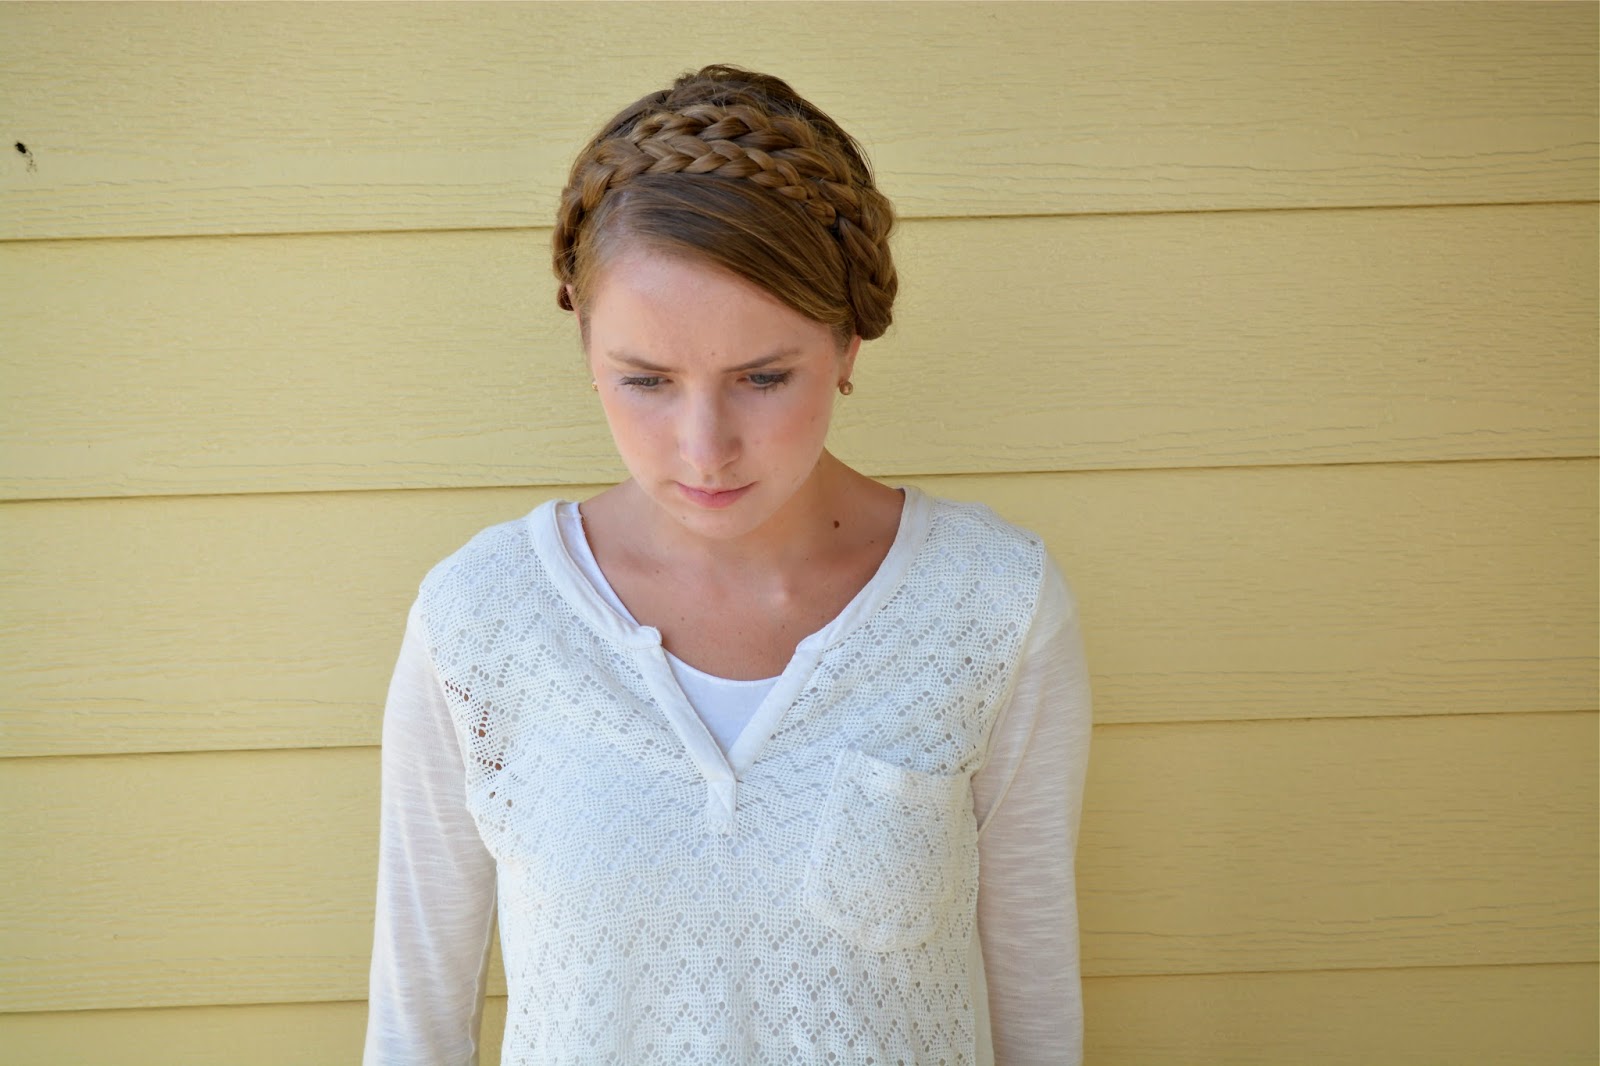
Many of you have been asking about my new go-to hairstyle so I have a quick tutorial for you today. While taking these pictures Ben realized, “It really doesn’t take you very long to do this at all.” No, no it doesn’t. It also doesn’t take very much skill or practice. From start to finish, this takes me less than five minutes and will stay in all day. It can easily be worn with a swimsuit (like I did yesterday) to keep your hair out of your face while swimming, or with a dress and heels (like I did last week) when you need to look put together without wanting to shower.
What You’ll Need:
brush or comb
2 mini hair ties (they look like orthodontic rubber bands and come in large packs for less than $2 at drug stores)
6-10 bobby pins
**Begin with brushed hair so that you can part and braid it. If you haven’t washed your hair in a few days, add a little dry shampoo to your roots before starting to absorb oils.
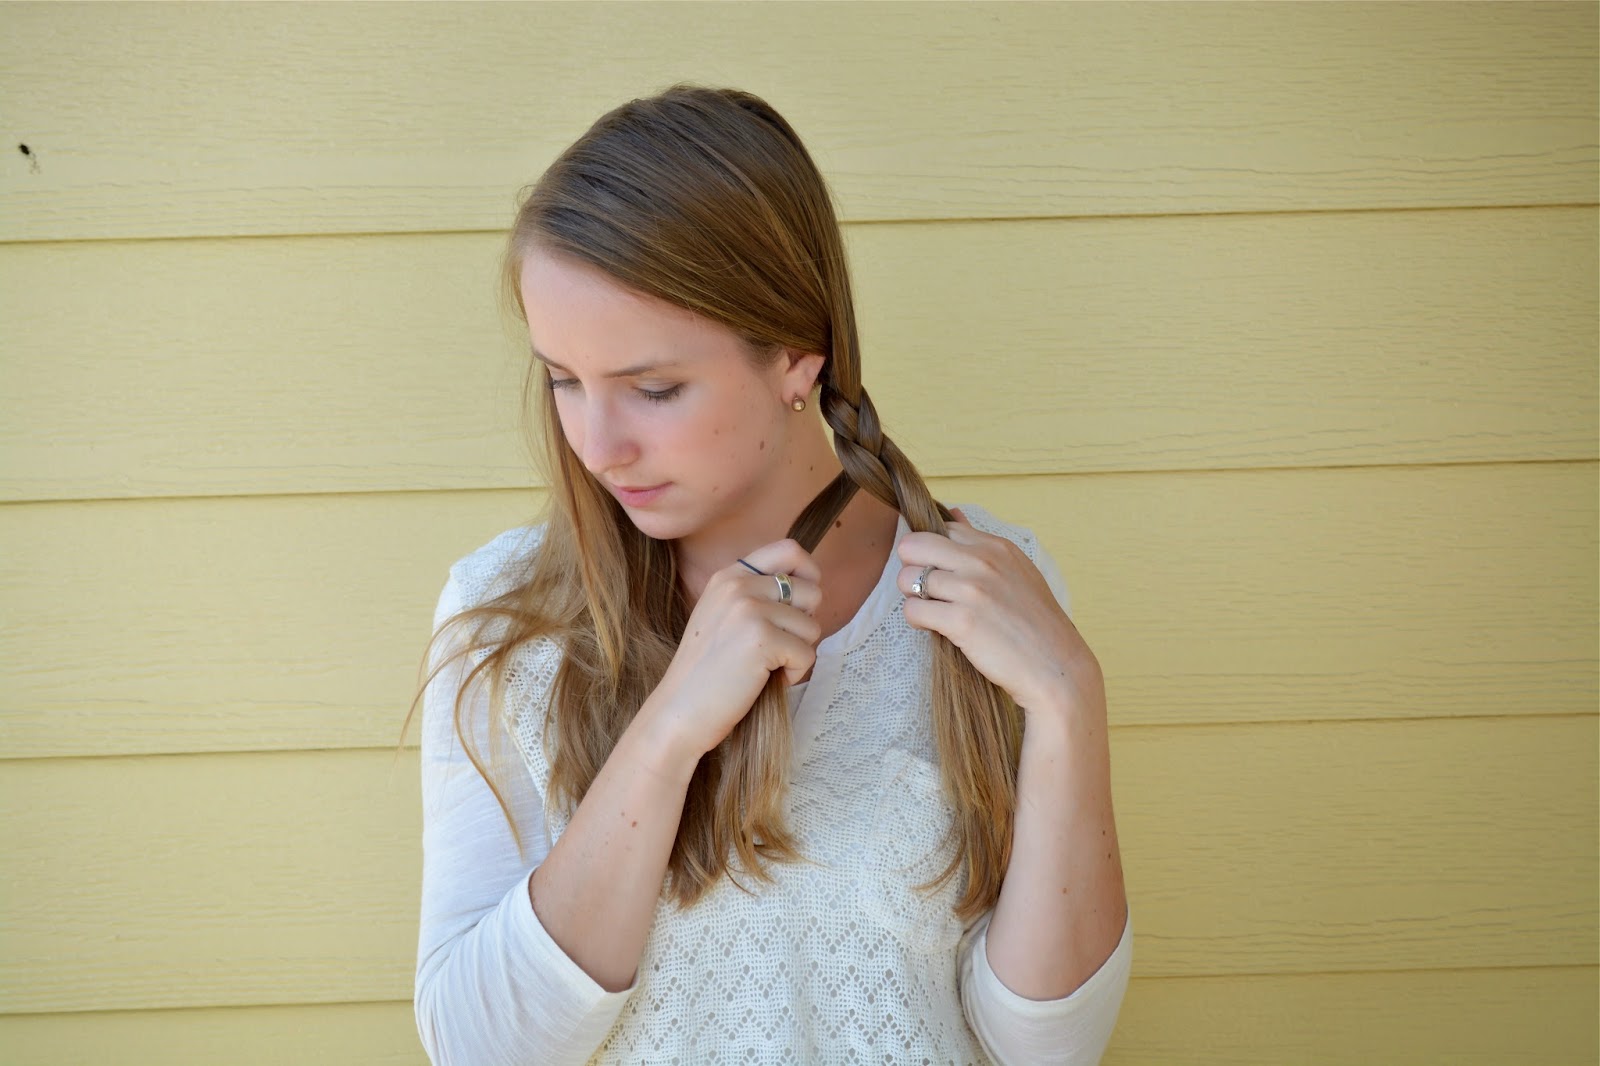
Step 1: Part your hair to one side (I use a bobby pin) and separate hair into two parts along the part.
Step 2: Braid each side. Starting below the ear, pull down and back as you braid. Secure each braid with a tiny hair band.
**The braids will be different widths – you want this.
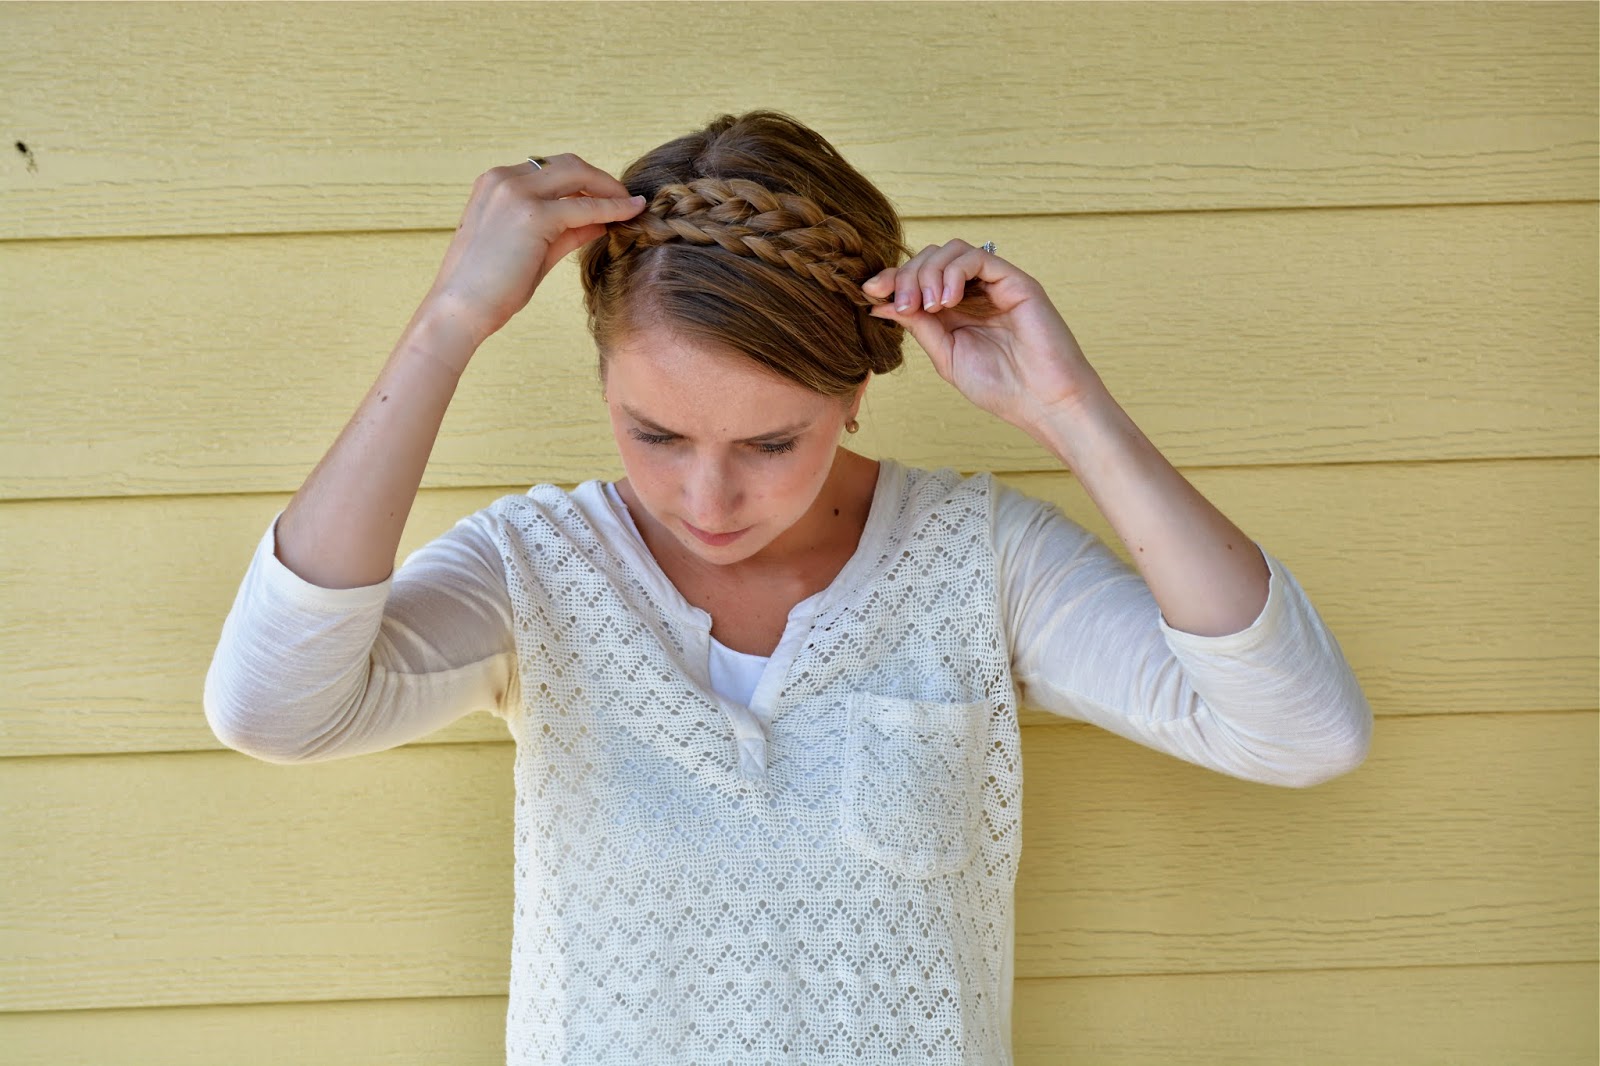
Step 3: Take the thicker of the braids and place across your head. Secure the braid in place with a bobby pin (or two if you need it, but you’ll add more later). Here you can choose where you want to place your braid. Feel free to bring it closer to your face or farther back (I like mine in the middle).
Step 4: Take the smaller braid and place it in front of the thicker braid (closer to your face). When placing it, be sure to cover the edge of the thicker braid (the rubber band and the tail). Tuck the tail and rubber band of the thinner braid under the thicker braid and secure with bobby pin. The goal here is to pin both braids next to each other while hiding the rubber band and tail of the braids. It might take a few extra bobby pins to complete this step
Step 5: Add bobby pins to secure the braids. Add as many as you feel you need, but I generally use 5 – 7.
You’re done! If you have any questions, let me know. If you try this, take a picture on instagram and tag me so I can see 🙂 (@bellatheblog)
love!!! i am going to do this tonight for my bbq ry and i are going too! and also i love that blue jean coat youpr wearing in one of your pictures where did you get that!!
i am obsessed with this hair do i am going to try it tonight for a party ry and i are going too! and i also love your blue jean coat you are wearing in one of your pictures where did you get it!!!






love!!! i am going to do this tonight for my bbq ry and i are going too! and also i love that blue jean coat youpr wearing in one of your pictures where did you get that!!
i am obsessed with this hair do i am going to try it tonight for a party ry and i are going too! and i also love your blue jean coat you are wearing in one of your pictures where did you get it!!!
OMG this is such a helpful post! I am definitely going to try this!!
Thanks so much,
Sasha
http://passion4fashion01.blogspot.com.au/2013/09/me-my-skirt-and-i.html
thank you for this! I would never have known that this look was so easy and fast! Going to try it next weekend.